Last updated on September 26, 2025
Lucid for Education can be used to integrate interactive and visual learning tools directly into your course. Once enabled within your Canvas course, Lucidspark and Lucidchart can be found in the navigation menu to the left. These tools foster collaboration, creativity, and deeper engagement by allowing students to brainstorm, organize ideas, and visualize complex concepts in real time. Whether you’re incorporating them into group projects, discussions, or visual learning aids, Lucidspark’s collaborative whiteboard and Lucidchart’s diagramming capabilities offer unique ways to enhance your teaching and support student engagement.
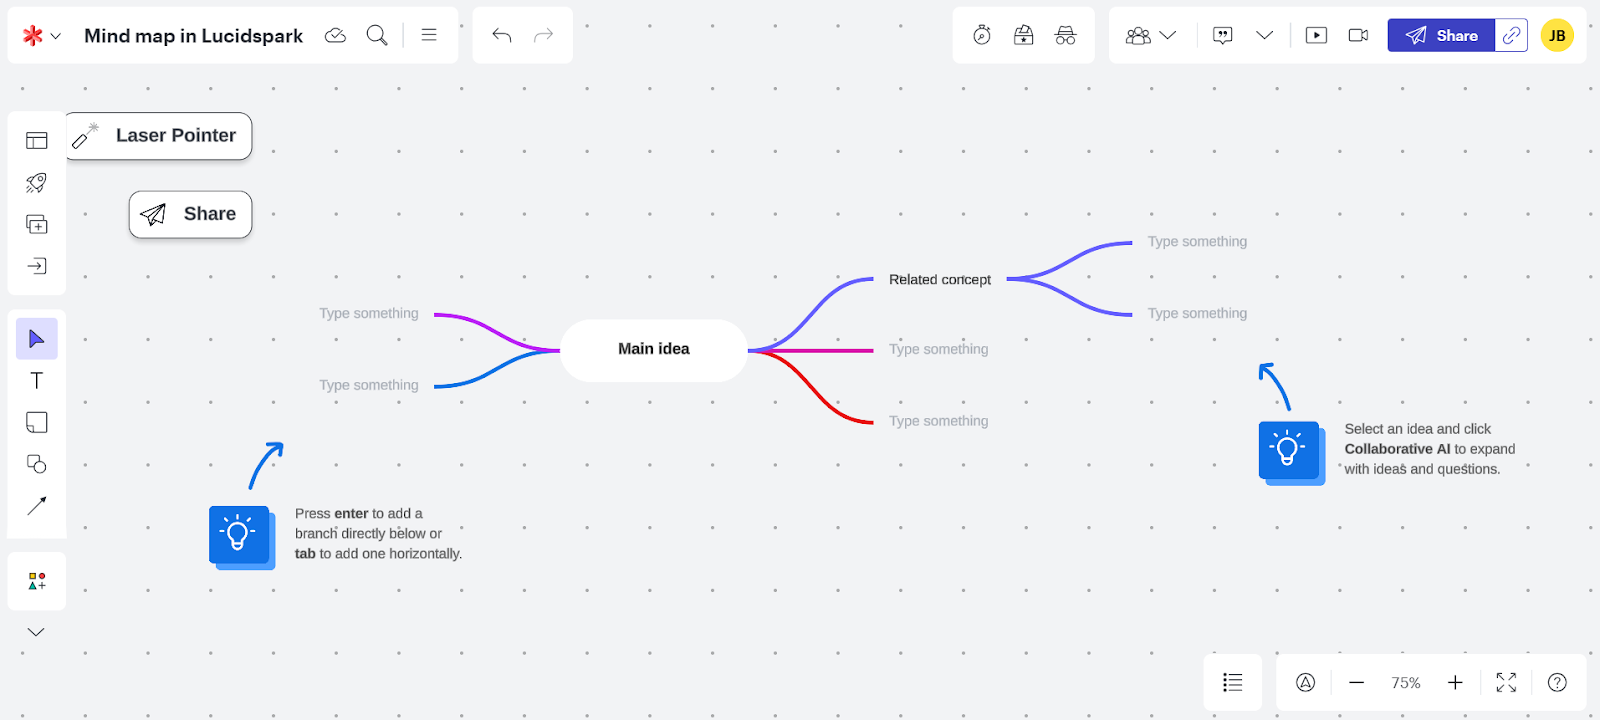
Mind map in Lucidspark
Flowchart in Lucidchart
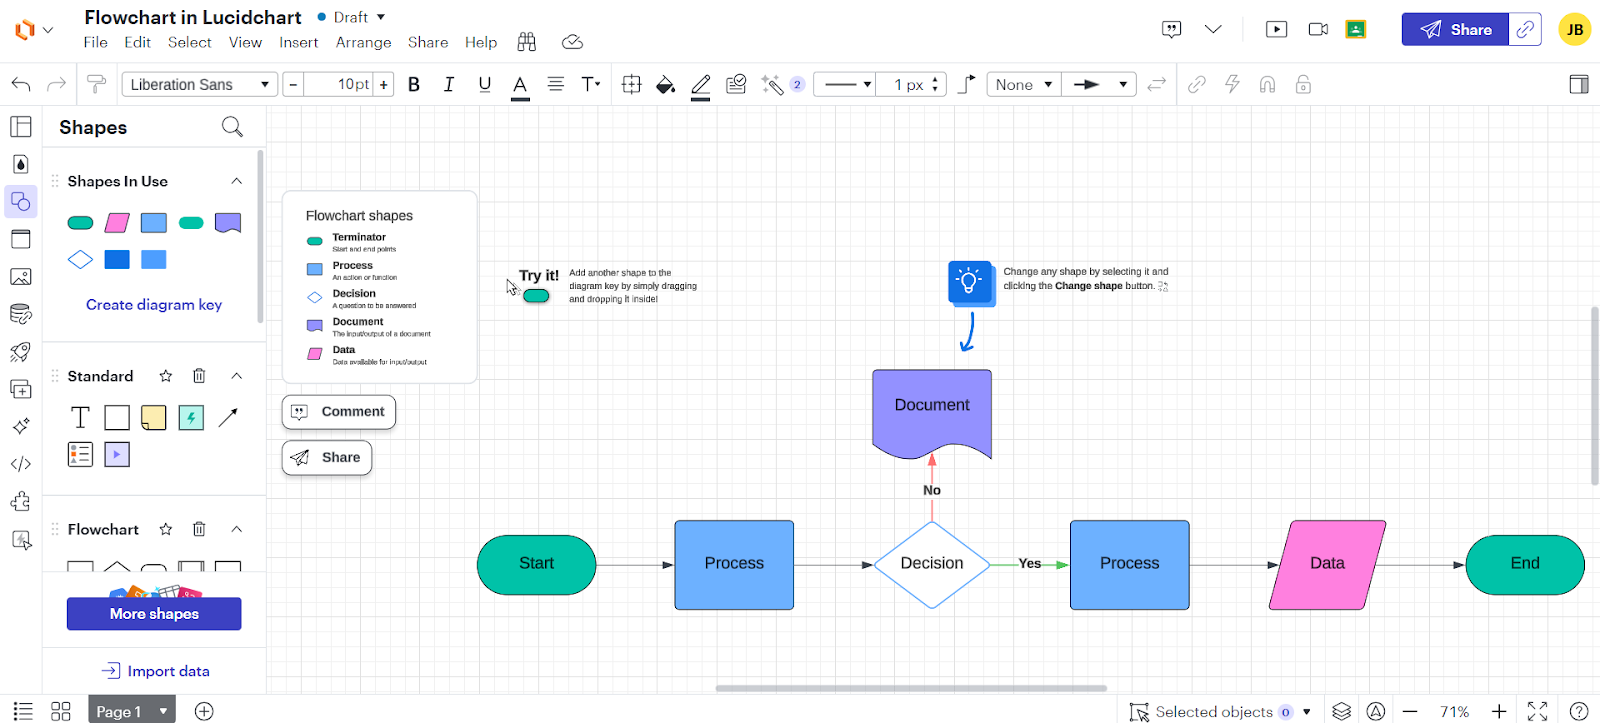
Lucidspark enables students to collaborate on ideas with sticky notes, drawings, and other tools, making it ideal for brainstorming and project planning. Lucidchart allows you to create diagrams, flowcharts, and mind maps to simplify complex concepts, which can be embedded directly into assignments or discussions. Both tools enhance collaboration and accommodate different learning styles, helping students engage more deeply and retain information by turning traditional content into dynamic, visual experiences.
Important Accessibility Note: To have your Lucid document read by a screen reader, you need to export it as an accessible PDF. Alt text added to objects cannot be read by a screen reader within Lucidchart or Lucidspark. Microsoft Whiteboard in Microsoft Teams is a recommended and more accessible alternative.
Contents
Directions
Note: By default, Lucid is disabled in your left-hand navigation menu. Follow the directions below to enable it and grant access to your Canvas account.
- Log in to your Canvas Account.
- Select the Course you’d like to work in.
- Click on Settings on the bottom of the left side navigation menu.
- Click the Navigation tab at the top.
- Scroll down and find Lucid in the menu options.
- Click the 3 dots to the right of the title.
- Click Enable.
- Click Save on the bottom left corner of the screen.
Link Lucid to Your Canvas Account
Now that Lucid is enabled in your course you are ready to link it to your Canvas account.
- From the left navigation menu, click Lucid (Whiteboard).
- If it is your first time accessing Lucid you will need to click the Log in button on the bottom right corner of the screen that pops up.
- Note: Log in with your MSU Denver credentials.
- Click the Get Started button that appears in the bottom right corner of the new screen that opens.
- Then, you will be brought to a page titled, “Connect Canvas by Lucid Software to User Account.” Scroll down and click Grant Access on the bottom right corner of the screen.
Create, Edit, and Embed Lucid Documents
Once account access is granted, you can start creating Lucid documents.
- Open a new announcement, assignment, page, quiz, or discussion, wherever you want the Lucid document to appear.
- On the navigation menu to the left, click Lucid (Whiteboard).
- Click Explore Lucid in the middle of the screen.
- Click the + New button on the top left corner of the screen.
- Note: You can choose from a Blank Document or Create from Template.
- Once you have the type of document selected, you can edit it as desired. When you are ready to share it with your students, click on the three horizontal lines at the top left of the screen.
- Click Edit in Lucidchart or Lucidspark.
- Click File on the top left of the screen.
- Click Embed.
- In the window that pops up, highlight the code under HTML.
- Right-click on the HTML code and click copy.
- Go back to the tab at the top of your browser with your Canvas course and navigate to the new announcement, assignment, page, quiz, or discussion that you previously created where you want the Lucid document to appear.
- Click Edit on the top right corner of the screen.
- Click Insert and then click Embed.
- Right-click within the embed code box that opens up and click paste.
- Click submit.
- Click Save at the bottom right corner of the screen.
Your students now have access to the Lucid document. By hovering over it, they can click the “Open with Lucidspark” or “Open with Lucidchart” button in the top left corner to begin collaborating directly within Lucid.
To learn more about Lucid for Education and how to use it, check out these resources:
- Embed Lucid in Canvas
- Create a Lucid Assignment in Canvas
- Training Lab: Lucid for Education 101
- Lucid Help Center
Drop-in Support
If you have questions about this or any other teaching and learning topics, you can visit us for drop-in support virtually via Teams or in person in Admin 325, M-F 10 am-3 pm.